As you might already know, it is extremely important to back up Windows 11 system. This is for your data security, and your peace of mind while being online.
We already discussed the importance of keeping your data safe. But let’s have a clearer image of how to do this for the most recent Windows operating system, as more and more users embrace it.
Why do this?
Once you’ve migrated from Windows 10 to Windows 11, you might feel better. The new look, features, and security layers of the newest operating system could seem good enough for you.
Still, remember that there are two different kinds of developers: the ones who take care of our safety, and the villains. The latter are permanently working to discover security breaches, exploit them and make some easy money out of this.
So, as your data is important to you for work, fun, etc., the same data might be a source of money for them. That’s why you should take any necessary steps to keep it safe.
Moreover, any of your files, be it documents, photos, or videos are at risk because of the hackers. So, let’s see how to backup your Windows 11, to avoid any dangerous and unpleasant situations.
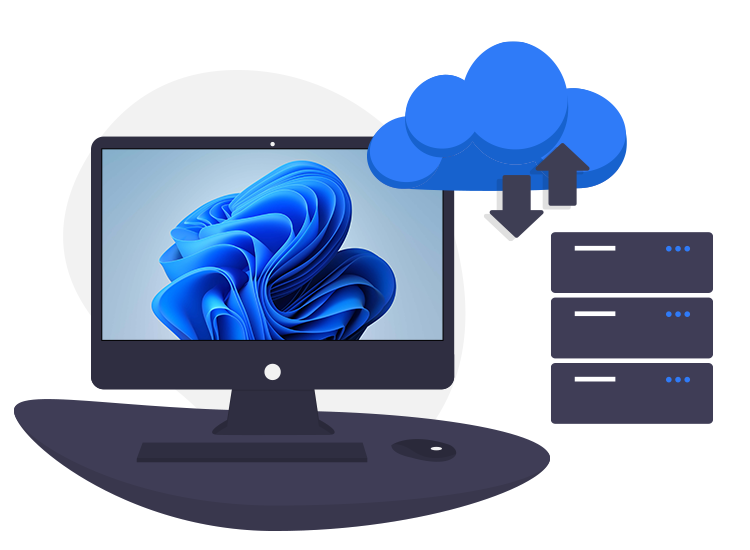
How to back up Windows 11?
There are a few steps you need to follow for the backup. Here they are:
- Use OneDrive.
- The option to use OneDrive for backup is the easiest one. Write Control Panel in the search box of your system, and open it.
- Click on Backup and Restore (Windows 7). Although it does not seem the right way to do it, according to the name, you can use it to back up everything in Windows 11.
- Select Create a system image option, on the left side.
- Windows will search for any selectable media to save the backup on, may it be a network address, a hard drive, or a USB stick. Of course, it gives you the option to set up a backup location.
- The system will estimate the size of the files to be backed up.
- Click on Start backup.
- You can also choose to back up only selected files.
- Select the Set Backup button.
- Choose the medium to save it.
- Let Windows decide which files to back up or select Selection by the user to include only the selected files.
- Check the files you want to include.
- Click Next.
- A summary will show in the next window. Then, you can change the frequency, date, and time for regular backups, by clicking Change Schedule.
- Press Save settings and run backup.
Once you do this, you will never be at risk of losing your data. Remember that safety should be your first thought.